Get Started in Minutes
Follow these simple steps to set up Cloud Hub Pro for your organization
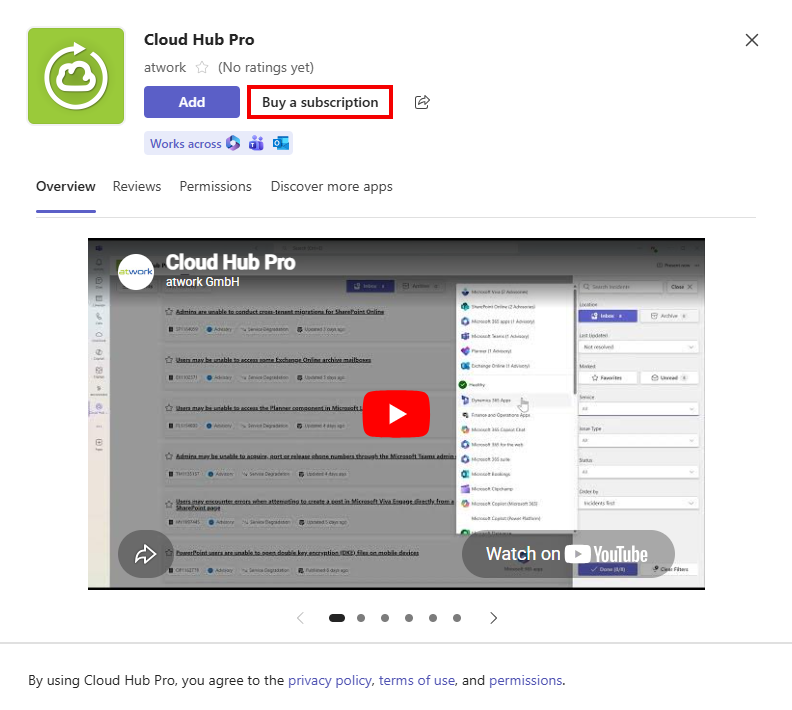
Buy a subscription
Open the Cloud Hub Pro listing in the Microsoft Teams App Store and get a subscription.
- Open Cloud Hub Pro in the Teams Store
- Click on "Buy a subscription"
- Complete the purchase process
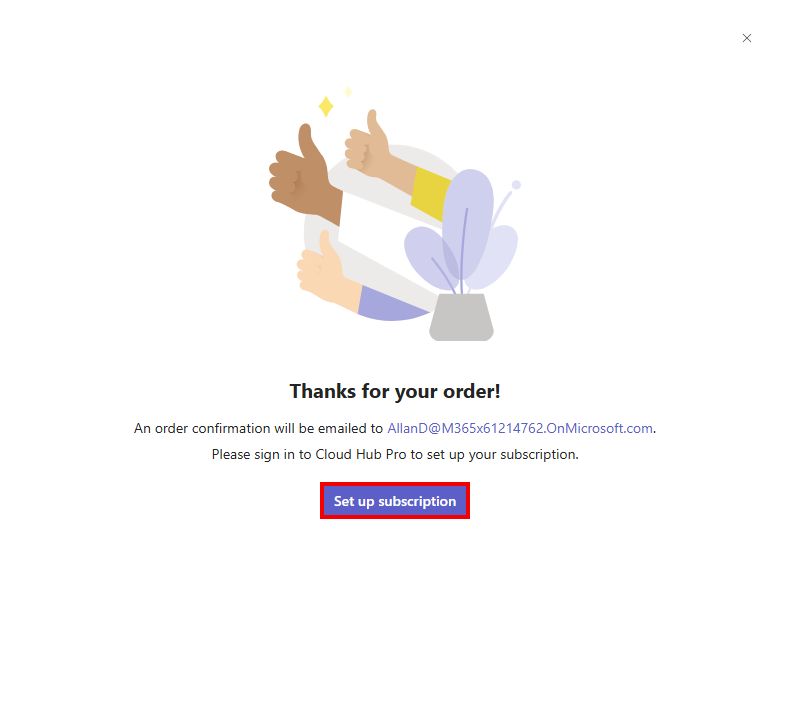
Set Up Your Subscription
After completing the purchase process in the Teams Store, proceed to activate your subscription.
- Important: Click on "Set up subscription" to activate your subscription
- This will redirect you to the atwork marketplace app
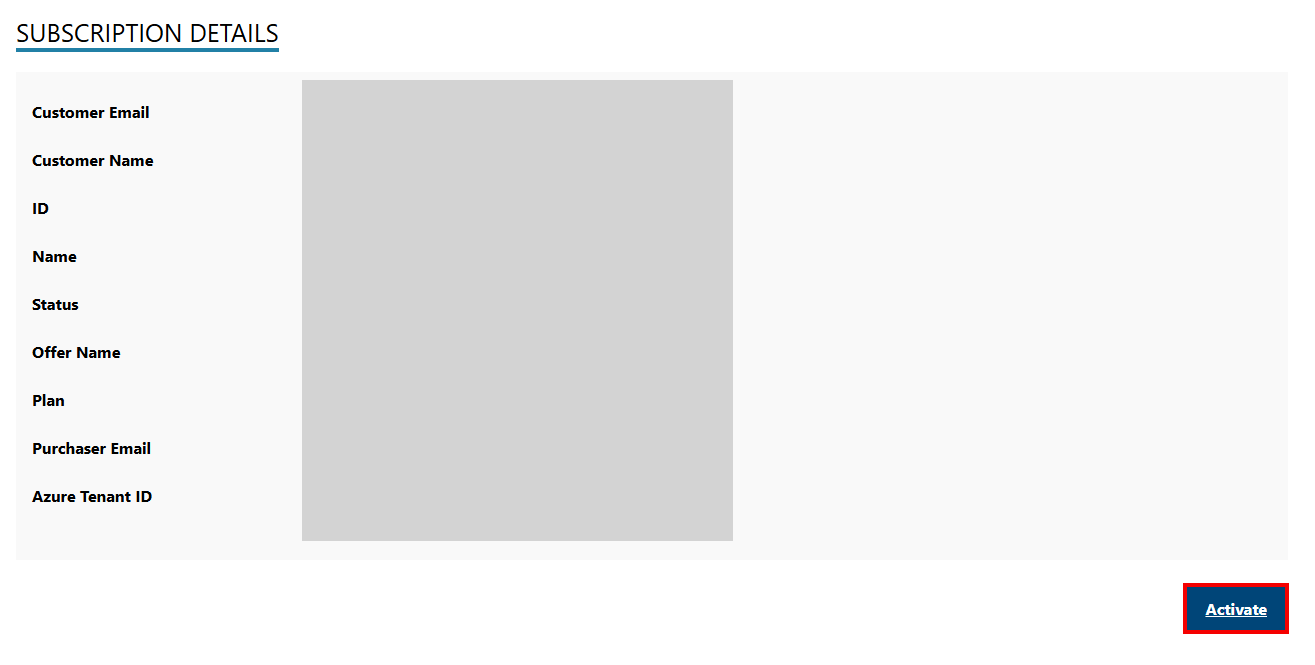
Activate in the Marketplace App
Finalize your subscription activation in the atwork marketplace app.
- In the marketplace app, click on "Activate"
- Your subscription is now active
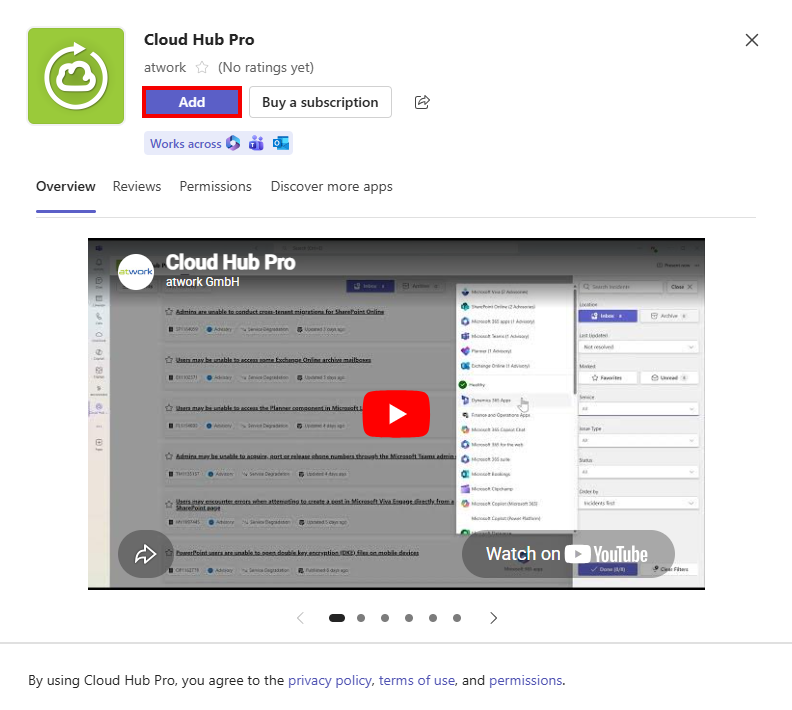
Add the app to Teams
Go back to the Teams Store listing and add the app to your Microsoft Teams.
- Return to the Teams Store listing
- Click "Add" to add the app to your Teams
- Click "Open" to launch Cloud Hub Pro
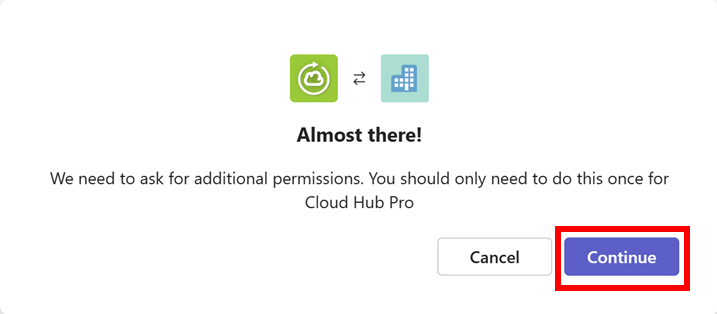
Grant App Permissions
At the first start, Cloud Hub Pro will inform you that permissions must be granted to access your Microsoft 365 data.
- A permission request screen appears on first launch
- Click on "Continue" to proceed
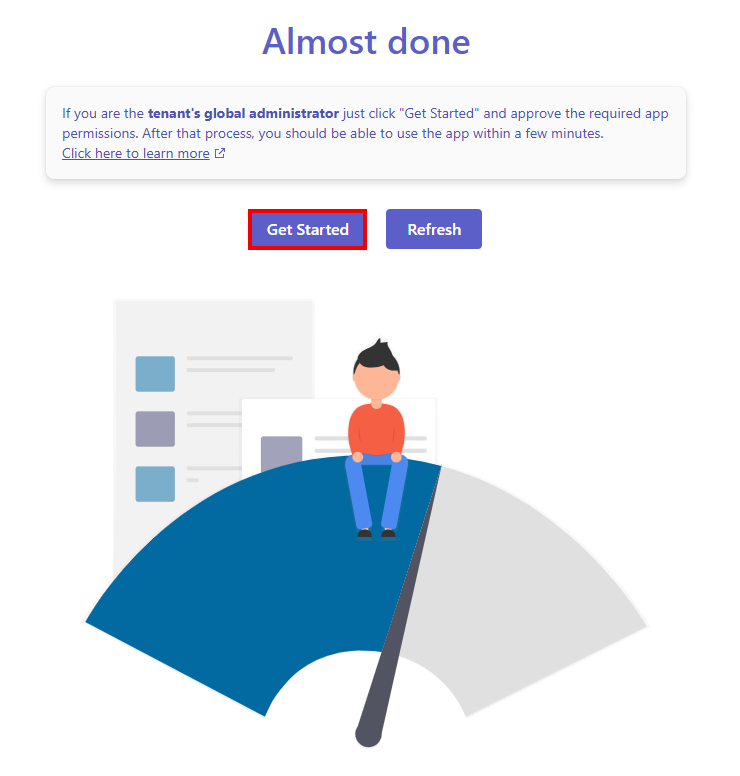
Admin Consent for Data Collection
An administrator needs to consent to allow Cloud Hub Pro to collect Microsoft 365 message and service health data.
- The admin consent screen appears
- The administrator clicks on "Get started"
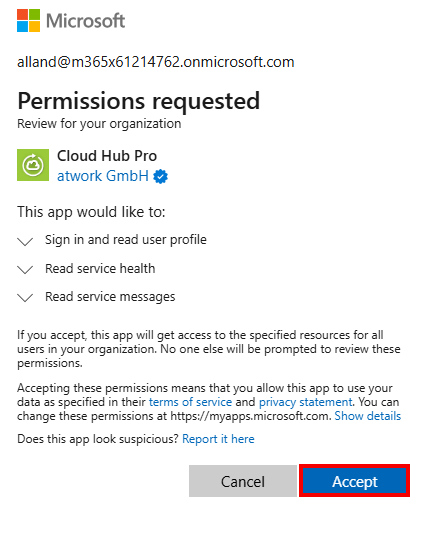
Grant Permissions as Administrator
Grant Cloud Hub Pro the necessary permissions to access messages and issues from your Microsoft 365 message center. The app reads and collects these in the background.
- A new window opens
- Select your Admin account
- Press "Accept" to grant the requested permissions
- Once permissions are granted, the window will close automatically
- Note: This step is required only once by an admin
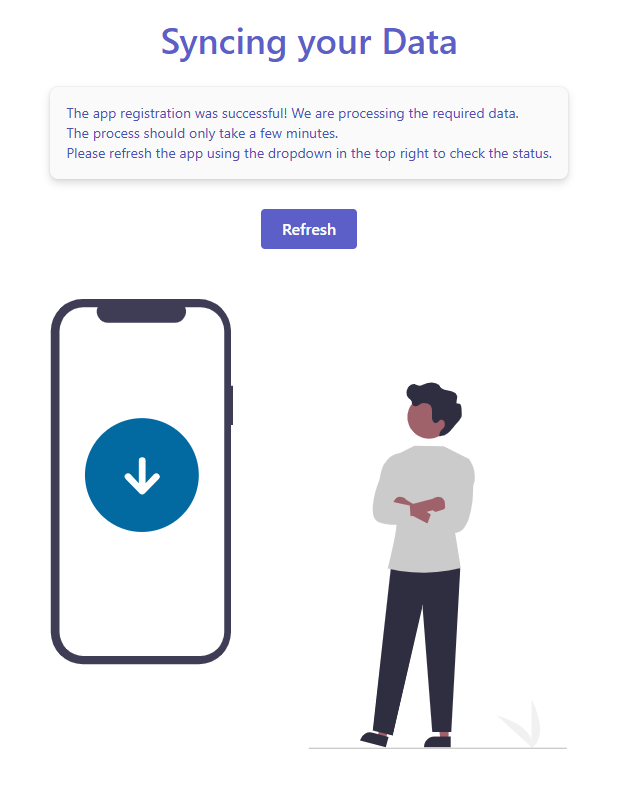
Wait for Initial Data Collection
Cloud Hub Pro will now fetch your Microsoft 365 data for the first time. This usually takes a couple of minutes.
- Wait while the initial data collection completes
- You can click "Refresh" from time to time to check progress
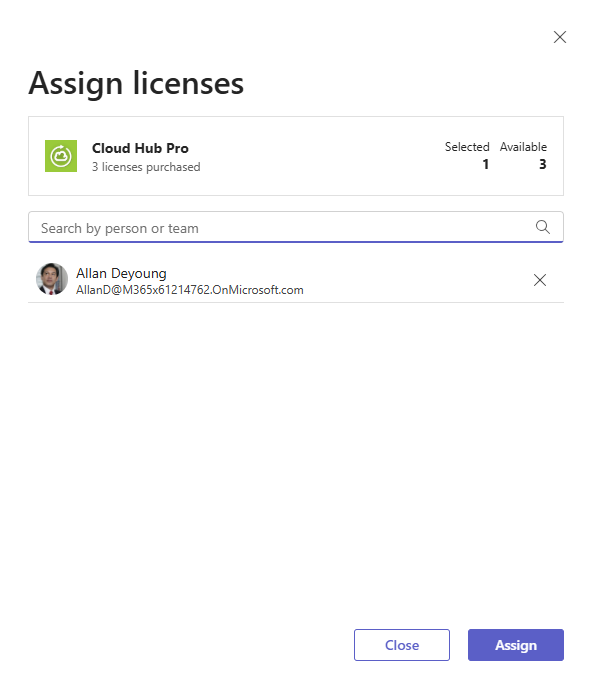
Assign Licenses via Teams Admin Center
To use the app, administrators must assign Cloud Hub Pro licenses to specific users.
- Open the app in the Microsoft Teams Admin Center
- Click on "Assign Licenses"
- Select individual users or groups and assign licenses
- Note: License assignment can also be done directly in the Teams client and in the Microsoft 365 admin center
You're all set!
Cloud Hub Pro is now up and running. Your team can access it directly in Microsoft Teams, Outlook, and the Microsoft 365 Copilot app — stay ahead of every change, right where you already work.